

Quickstart Guide
Create your Profit Hawk account, connect your Amazon accounts, and get your product catalog set up.
Get up and running with Profit Hawk in a few minutes. This guide walks you through account creation, connecting Amazon, and getting your product catalog ready.
Prerequisites
Before starting, make sure you have:
- An active Amazon Seller Central account with admin access
- An Amazon Ads account (if you want advertising data in Profit Hawk)
Step 1: Sign up for an account
Go to app.profithawk.io/auth/signup and create your account.
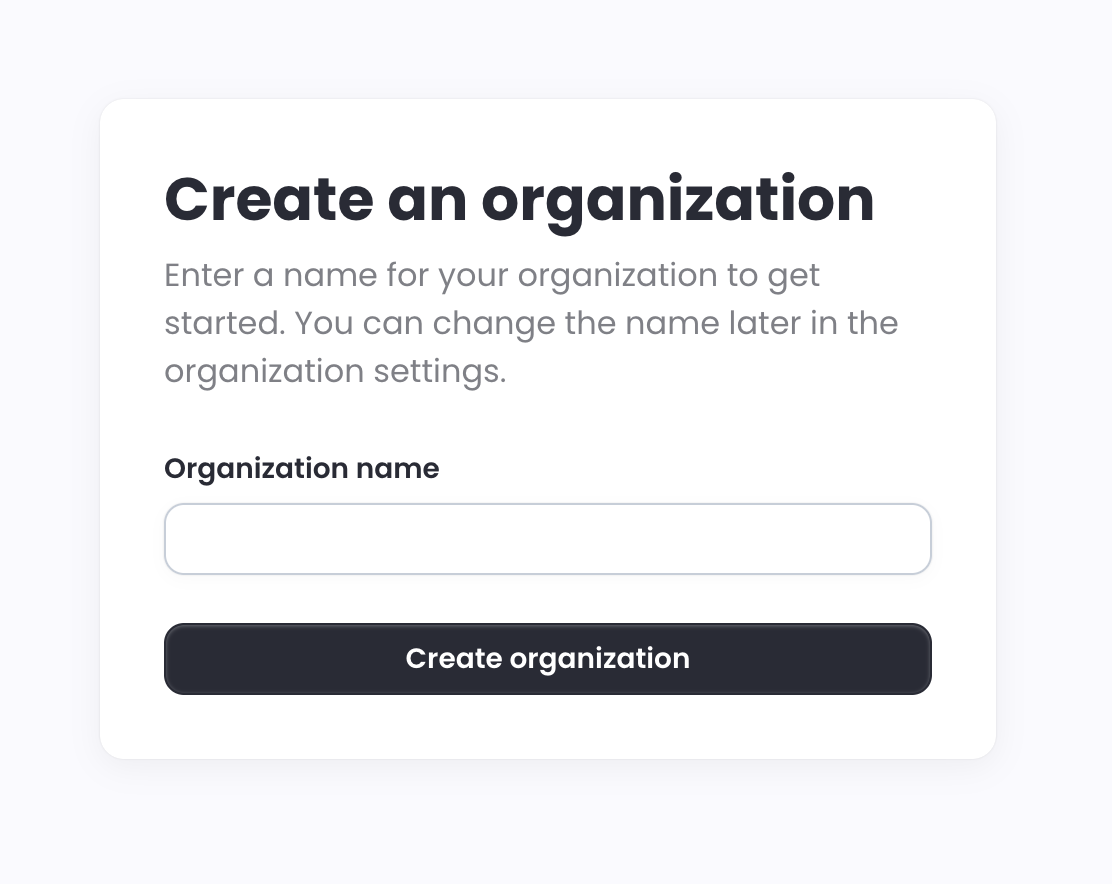
Step 2: Name your organization
After signing up, you are prompted to create an organization. This is your company or brand name in Profit Hawk. If you manage multiple brands, you can create additional organizations later. You can change the name anytime in your organization settings.
Step 3: Select your plan
Choose the plan that fits your business. You will not be charged during the free trial. You are asked to add a credit card, but billing does not start until your trial ends.
Step 4: Connect Amazon Seller Central
Connect your Seller Central account so Profit Hawk can pull your inventory, orders, and sales data. The onboarding flow will prompt you to add a sales channel. Select Amazon Seller Central, name the account, choose your region, and authorize Profit Hawk on Amazon.
For the full step-by-step walkthrough with screenshots, see Amazon Seller Central Integration.
Step 5: Connect Amazon Ads
After connecting Seller Central, add your Amazon Ads account to bring in advertising spend and ad-attributed sales data. Select Amazon Ads as the sales channel type, choose your region, and click Allow on the Amazon authorization page.
For the full step-by-step walkthrough with screenshots, see Amazon Ads Integration.
Step 6: Grab a coffee and check your inbox
Once your Amazon accounts are connected, Profit Hawk gets right to work. Within a few minutes, we fetch your latest listings and inventory data, process it, and automatically create your inventory products. You will get an email as soon as your products are ready.
Step 7: Add your product settings and costs
Once you get the email, head to Inventory Products to see your full product catalog. From here, configure the settings that drive accurate forecasting and replenishment:
- Lead times: How long it takes to receive inventory from your supplier. This is critical for replenishment timing.
- MOQ and case quantity: Your supplier's minimum order quantity and units per case. These ensure order recommendations are realistic.
- Product costs: Your landed cost per unit. Profit Hawk uses this to estimate reorder costs and calculate profitability.
You can update these one at a time from the product detail view, or use the spreadsheet export/import tool on the Inventory Products page to update everything in bulk.
Learn more: Product Settings and Product Costs
Step 8: Sit back while we do the heavy lifting
While you are setting up your product settings and costs, Profit Hawk is still working behind the scenes. We pull 18 months of historical sales data from Amazon to power your demand forecasts and replenishment recommendations. This takes an estimated 12 to 24 hours (Amazon's API rate limits are the bottleneck, not us).
You do not need to wait for this to finish before exploring the dashboard. Your products, current inventory levels, and settings are all available right away. Once the historical import completes, your forecasting and replenishment data will automatically populate.
Explore the app
With your products set up, use the sidebar to navigate the main areas of Profit Hawk:
- Inventory Overview -- the heart of the app. Current stock levels, forecasted demand, urgency, and reorder/transfer recommendations for every product
- Inventory Products -- your product catalog and channel listings
- Inbound Shipments -- track shipments to FBA and AWD
- Purchase & Transfer Orders -- build supplier orders and warehouse-to-FBA transfers
- Suppliers and Warehouses -- manage who you order from and where stock is stored
- Sales Channels and Settings -- manage integrations, team access, and billing
Next steps
Inventory Overview
Tour the main page where most day-to-day work happens.
Identify Reorders
The first workflow most sellers run after onboarding: build a draft purchase order.
How Forecasting Works
Understand how Profit Hawk predicts demand for your products.
FAQs
Common questions and answers about using Profit Hawk.